PNG — a picture of the wall
The main "send it to the client" format: a raster picture of the wall at one to one. The only format with overlays — a logo, captions and images on top of the image.
The size of the picture
PNG is always written at the exact pixel size of the composition: a 3840×2160 wall gives a 3840×2160 file plus the padding. The zoom you happen to be viewing the canvas at makes no difference.
That is handy for checking content: the picture can be laid over the wall one to one in an installation tool.
Settings
| Setting | What it does |
|---|---|
| Transparent background | Nothing around the wall — the picture can go on your own background in a presentation. Turn it off and the background color becomes available. |
| Background color | The fill around the composition when transparency is off. |
| Monochrome | Black-and-white output whatever the project colors — for print and drawings. |
| Padding | A margin around the composition, 0 to 100. It keeps outlines and labels off the edge of the frame. |
| View | Cabinets or clusters — the same split as in the editor. |
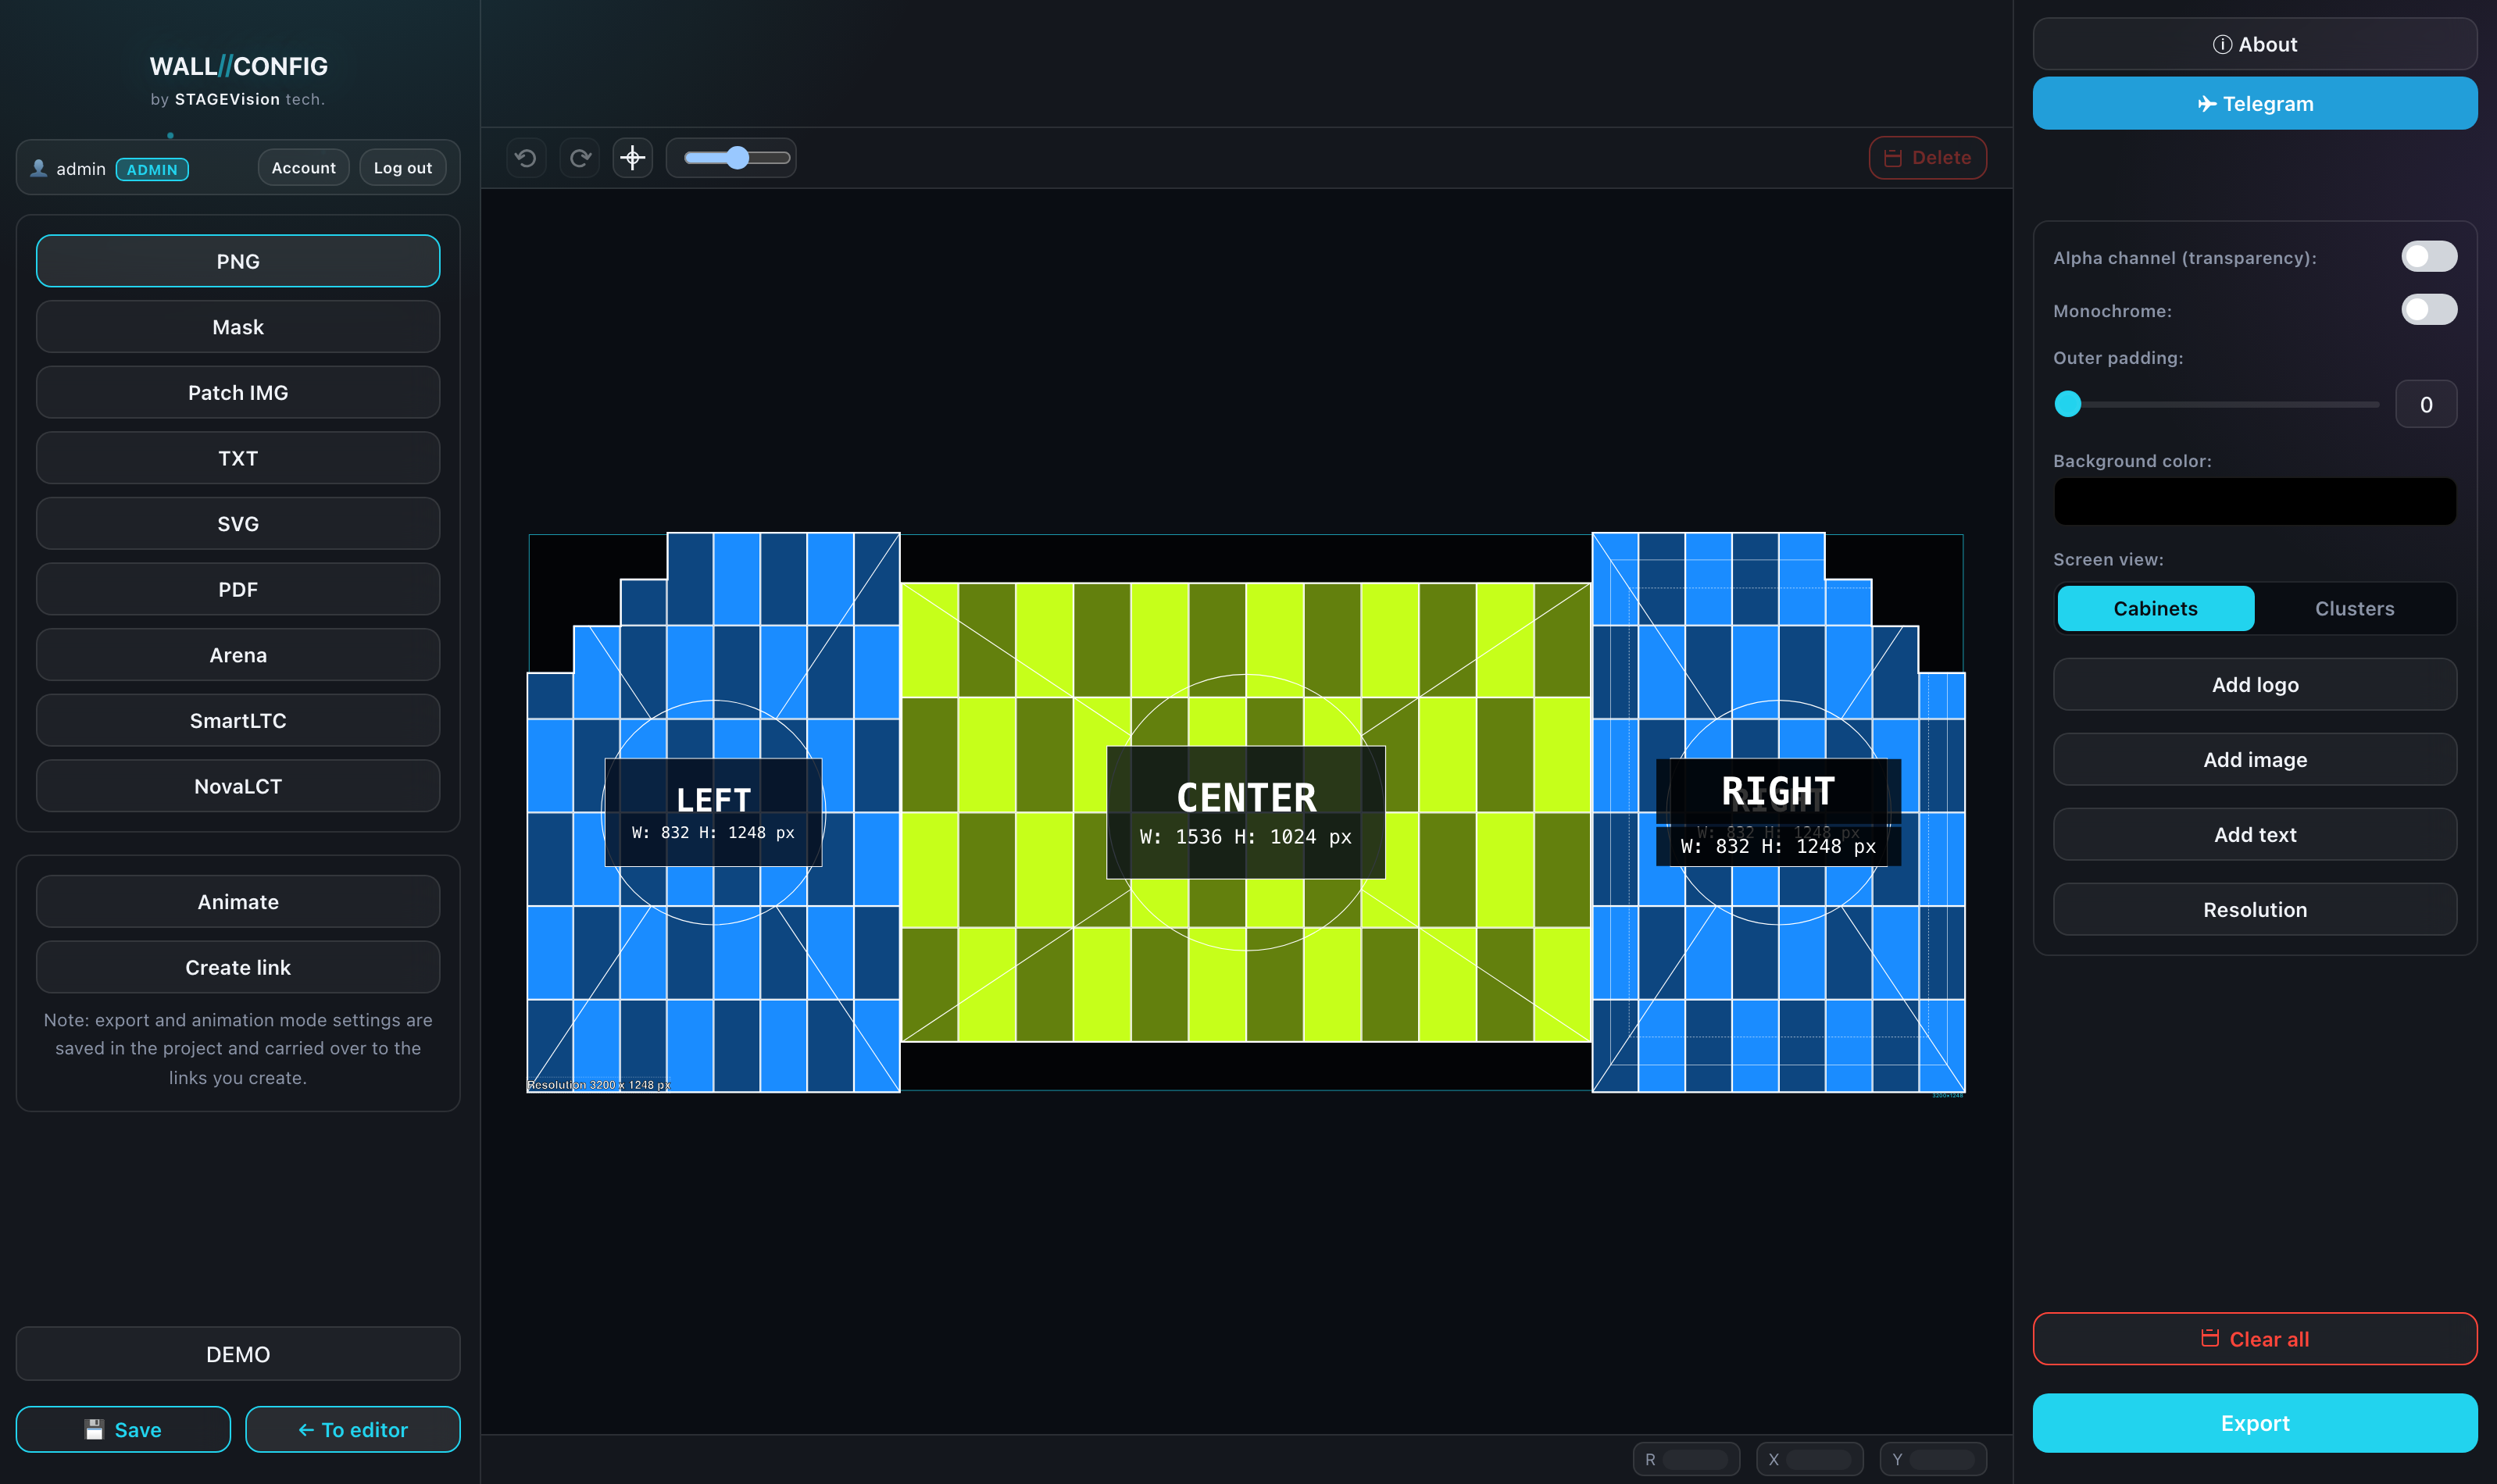
Overlays
Four kinds of object can be laid over the picture:
- Logo — from your profile in your account;
- Image — any file from disk, the client's logo for instance;
- Text — a caption of your own;
- Resolution — a ready-made line with the wall resolution.
Overlays are dragged with the mouse right on the preview; the selected one opens its own parameters on the right: size, opacity, color, outline.
Overlays have a history of their own: in export mode Ctrl + Z and Ctrl + Y undo what you did to them, not changes to the project. The "Clear all" button removes every overlay at once.
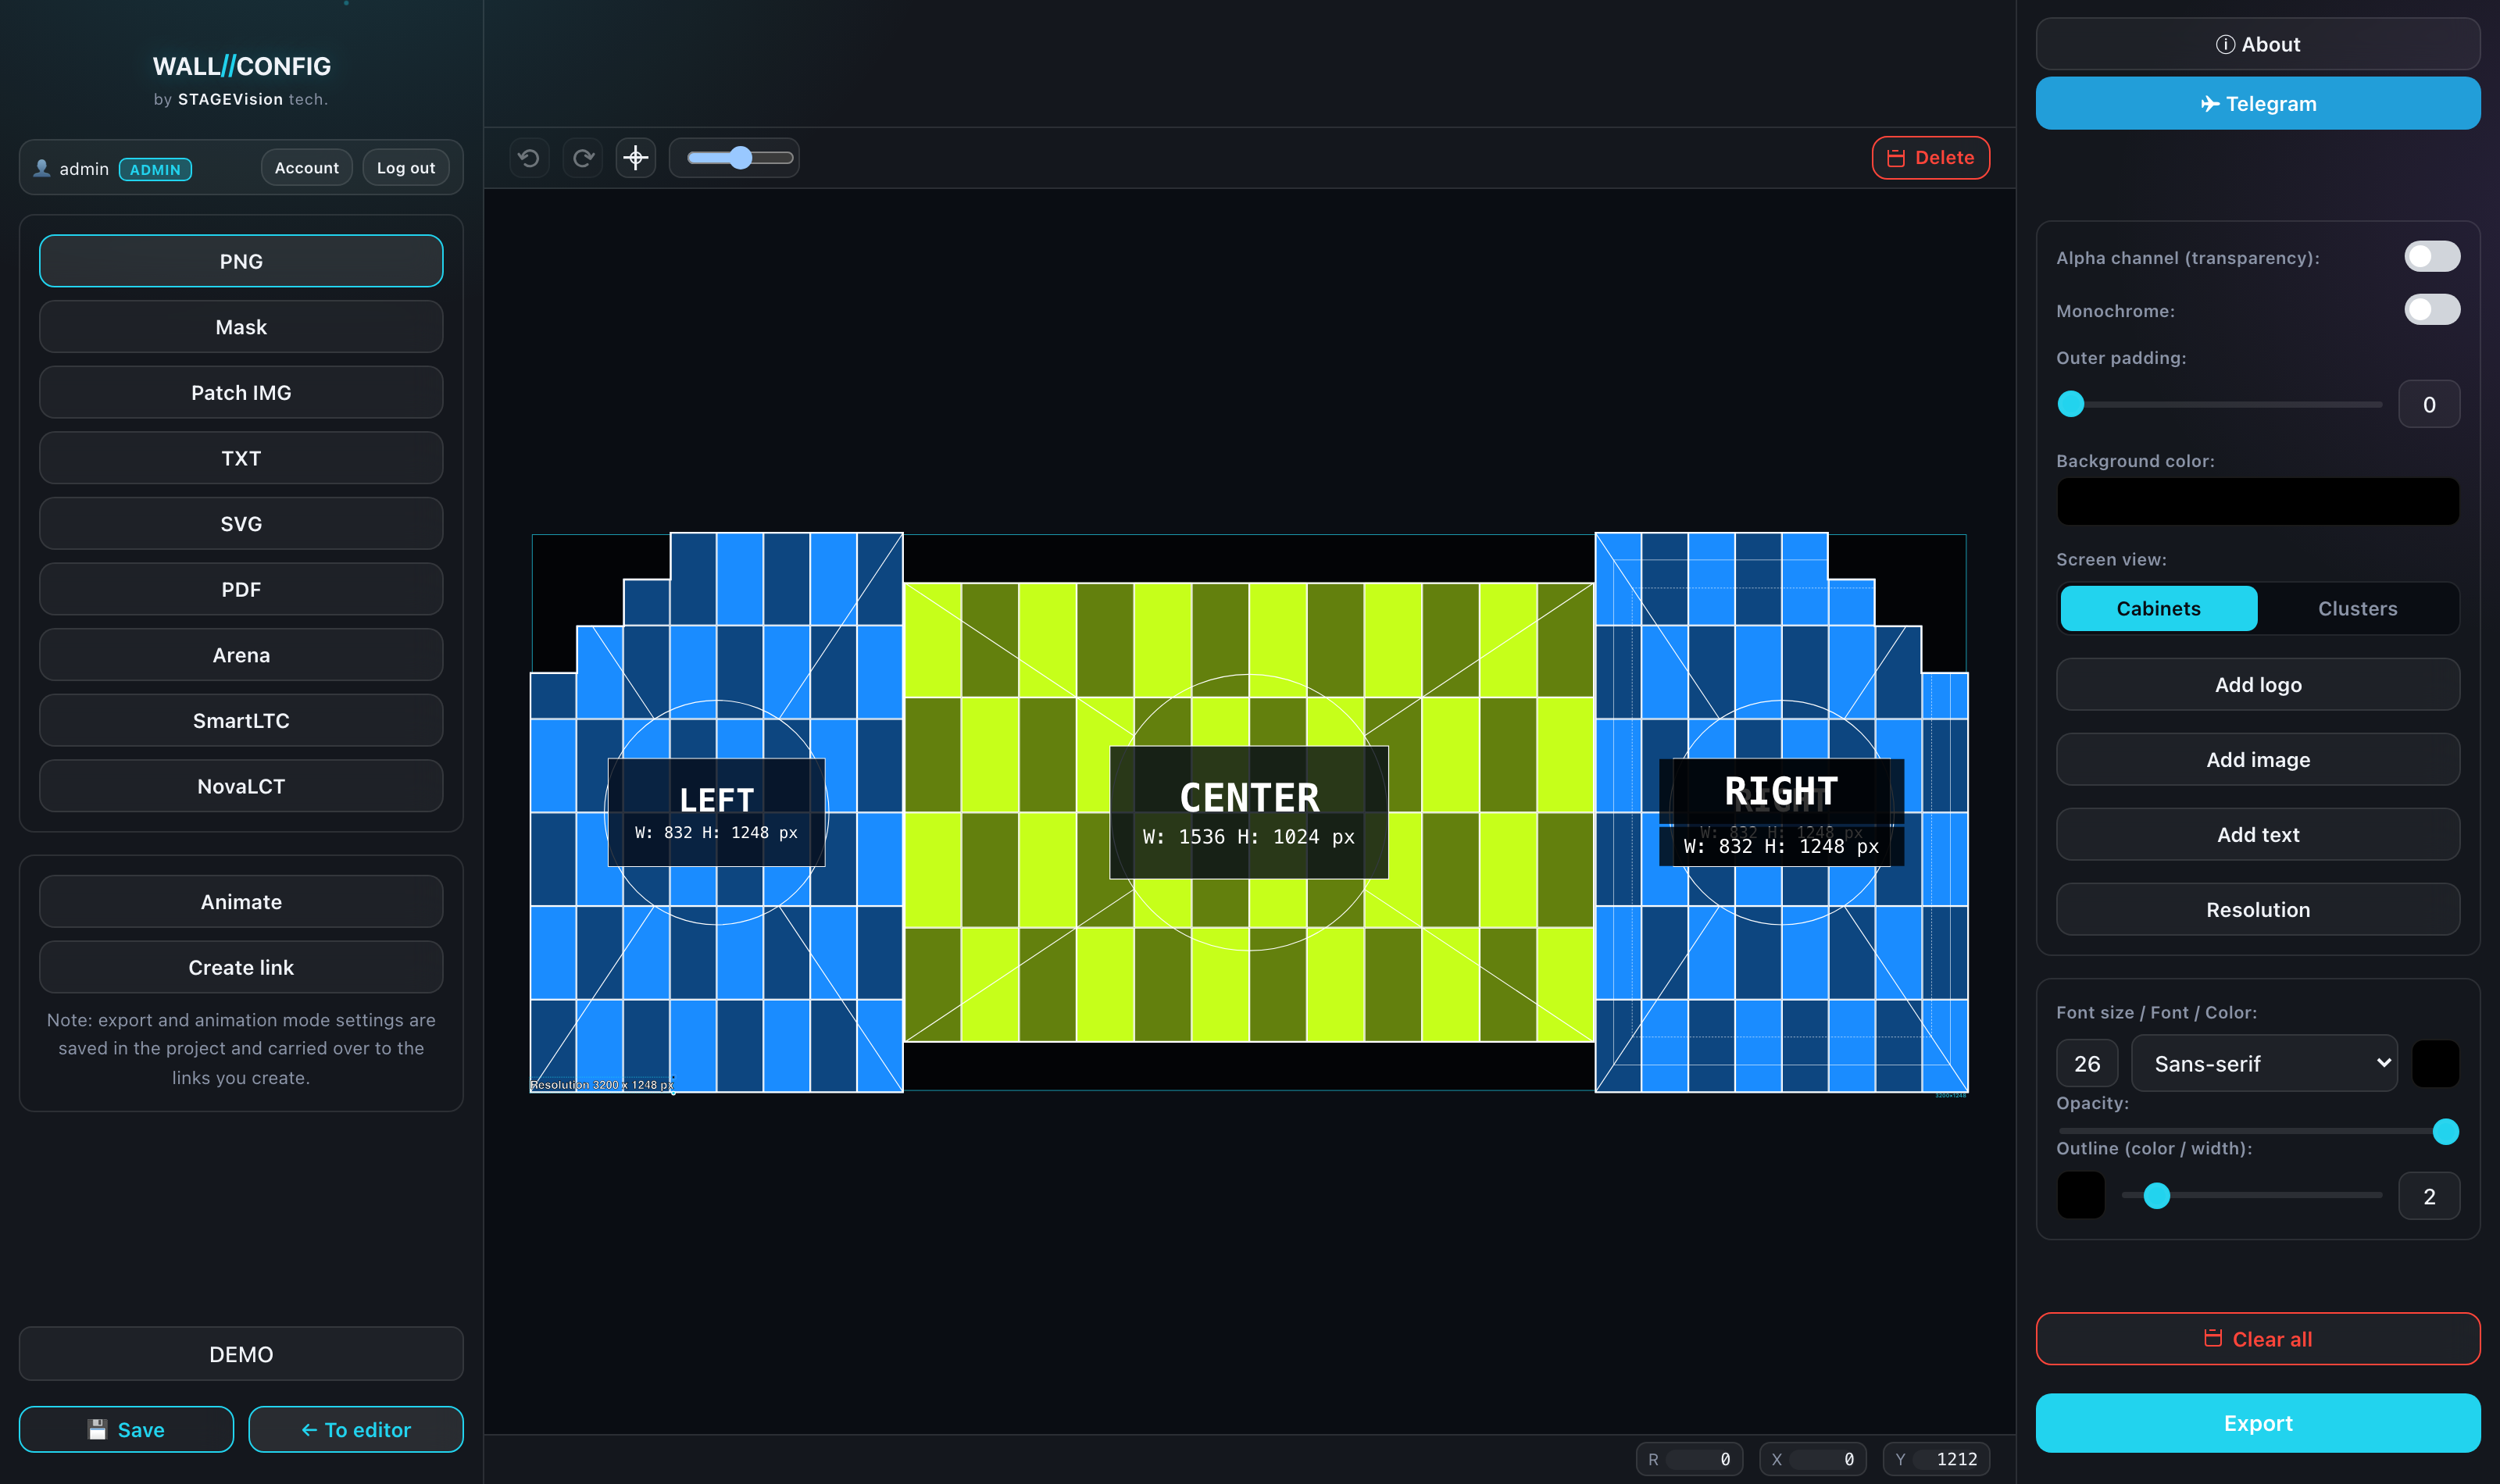
Overlays and other formats
Overlays belong to PNG. They can be carried into PDF with a switch of its own; they never reach Mask, SVG or the processor files.