Patterns
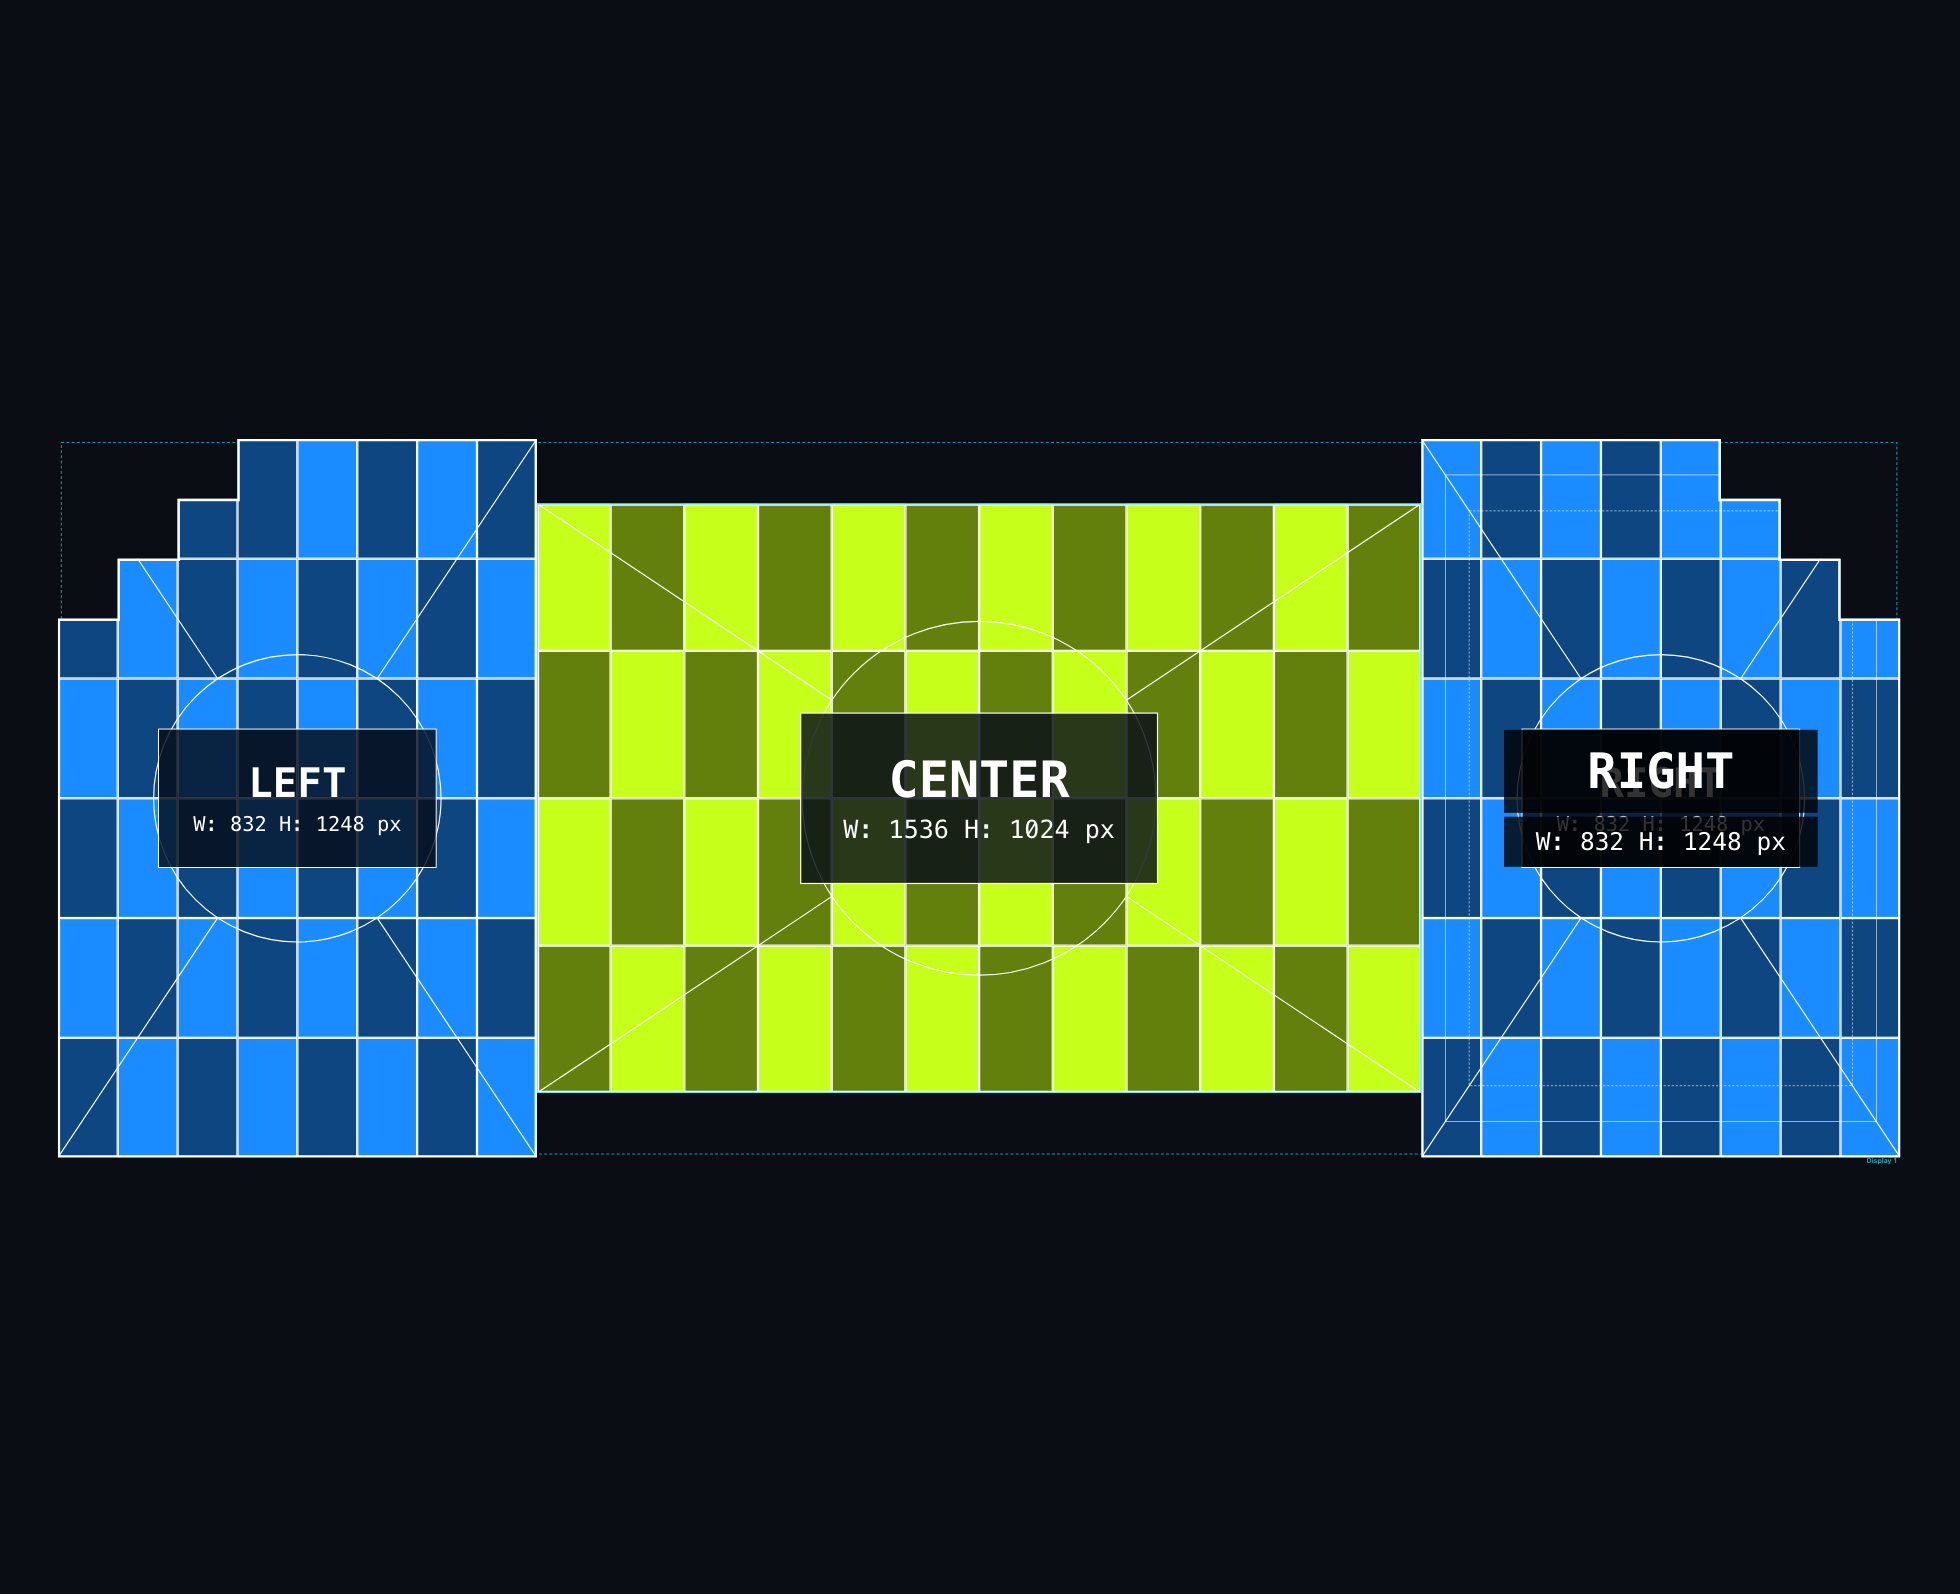
A pattern is a test image drawn over a screen. It is not decoration: it is what you check the wall by — whether it is assembled correctly, whether the cabinet joins line up, whether any panel is swapped or upside down.
What it is for
- Check the geometry. The diagonals must meet in the center and the circle must be round, not oval — if it is not, something is wrong in the layout.
- Find the joins. A grid and lines show whether the cabinets sit straight and whether anything is offset.
- Identify cabinets. Numbers drawn on the panels make it easy to check the installation drawing against what actually hangs on the wall.
- Check the content. Safe areas show where important content must not stray.
- Judge the picture. A test card and flat fills are for acceptance: color reproduction, gradients, grey steps.
The patterns available
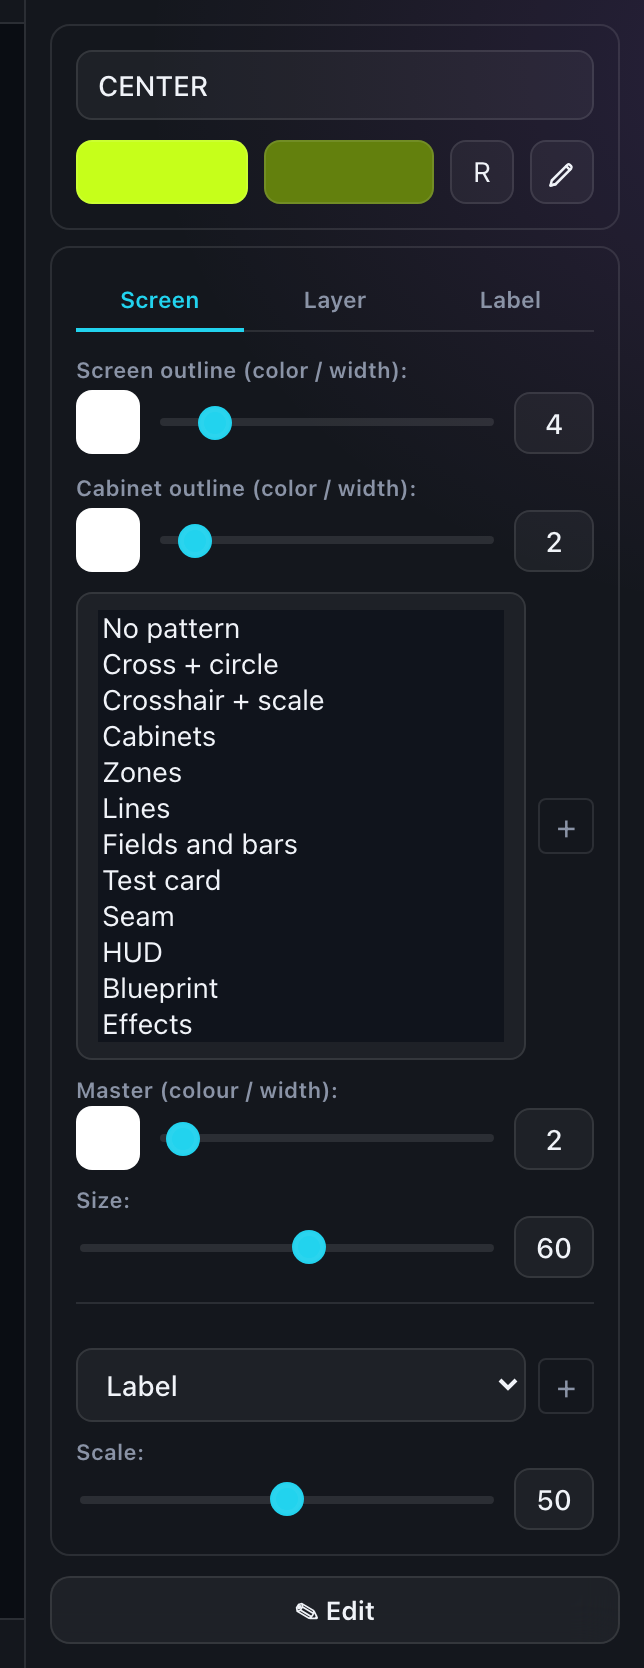
The list lives in the pattern list of the right panel. An administrator sets the names, so yours may differ slightly:
| Pattern | What it draws and why |
|---|---|
| No pattern | An empty layer — the screen stays clean. |
| Cross + circle | Corner-to-corner diagonals and an inscribed circle. The basic geometry check for the whole screen. |
| Crosshair + scale | A crosshair with tick scales along the edges — precise reference for the center and the edges. |
| Fields and bars | Solid fills: color channels, gradients, grey steps, SMPTE bars. For checking color reproduction. |
| Test card | A broadcast acceptance card in two classic styles. |
| Cabinets | Numbers, fill and frame markings — you can see which cabinet is which. The fill can run by row, by column, as a rainbow, in alternating pairs or as a heat map. |
| Seam | Lines along cabinet borders: they reveal gaps, pinching and cabinets placed out of order. Diagonals across the whole wall switch on separately — they show whether the wall as a whole is assembled straight. |
| Zones | Inset frames and a center: they show that content will not run off the edges. |
| Lines | Grid, diagonals, rings, rays — assembly geometry and a moiré check. |
| HUD | Frames, scales, radar, reticle, telemetry — styling in the manner of an instrument display. |
| Drawing | Dimensions, axes and a tolerance field — the actual envelope of the screen. |
| Effects | Scan line, vignette, night vision, glitch, alarm — laid over the other layers. |
How it is configured
Every pattern has its own set of parameters, but the principle is the same: pick a pattern in the list and the "Pattern" tab shows a form with its settings. Usually that is color, line width, dash style, element sizes and repeat counts.
Many patterns have a master color: while the secondary elements share the tone of the main lines, they follow the main color. Paint an element separately and the link breaks — from then on it lives on its own.
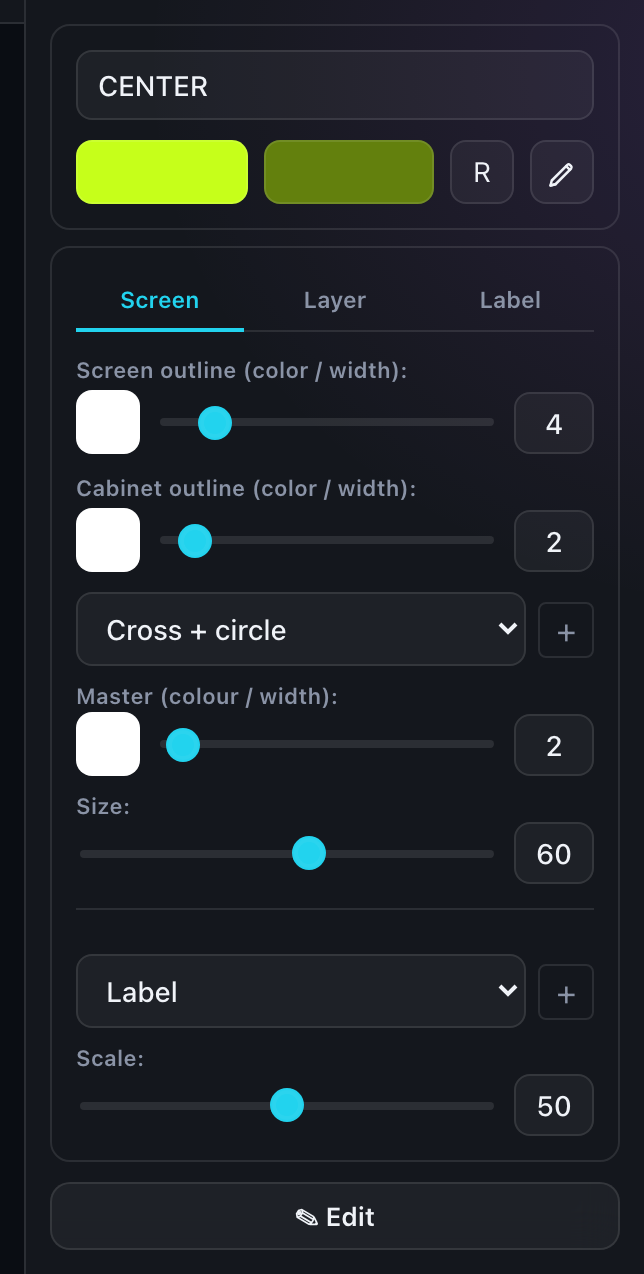
The two most-used parameters of every pattern are mirrored on the "Screen" tab itself, below the list, so frequent edits do not send you to the neighbouring tab. Editing either copy moves both. The mirror appears only while the screen carries a single pattern: with several layers it could not say which one the parameter belongs to.
Line widths are set in panel pixels and do not grow with the screen, while radii and padding are percentages of its size. These are different quantities — do not be surprised that they behave differently.
Several patterns at once
One screen can carry several patterns — a grid underneath and effects on top, for instance. Add them with "+" in the list; reorder by dragging the rows.
How many depends on your access — see Layers.
Saving a setting
The save button at the bottom of the right panel puts the pattern's current parameters into your personal library, so you do not set it up again on the next project.